

Introduction
Wear and Remove a Car Wrap are a popular way to customise and protect vehicles with eye-catching designs, colours, or advertisements. However, there comes a time when the wrap needs to be removed, whether for changing styles or selling the vehicle. Removing a car wrap properly is essential to avoid damaging the paint underneath. The Deckers Auto and expert team shares the detailed 2025 guide on how to Remove a Car Wrap safely, using the latest updated techniques, tools, and tips to protect your car’s paint surface with Deckers Automotive techniques.
Recent Released: Best Car Repair Courses Online for Automotive Mastery in USA
Preparing to Remove a Car Wrap
The first step to successful car wrap removal is preparation. Choosing the right environment and gathering the correct tools are crucial for a smooth process and to minimize risks.
Optimal Environment
Select a shaded garage or covered outdoor space with ample room to work around the vehicle comfortably. Avoid direct sunlight which can cause uneven heating or damage to the vehicle’s surface during removal.
Essential Tools
- Heat Gun: Used to soften the vinyl and adhesive, making the wrap easier to peel.
- Plastic Scraper or Razor Blade: Helps lift edges without scratching paint. Plastic is preferred to avoid damage.
- Adhesive Remover Solution: Removes stubborn adhesive residue left on the paint.
- Spray Bottle with Warm Water and Mild Detergent: Softens tough spots on the wrap for gentle peeling.
- Microfiber Cloths: For cleaning the surface after removal.
- Protective Gear: Gloves and safety glasses protect your skin and eyes while working.
Step-by-Step Guide to Removing a Car Wrap
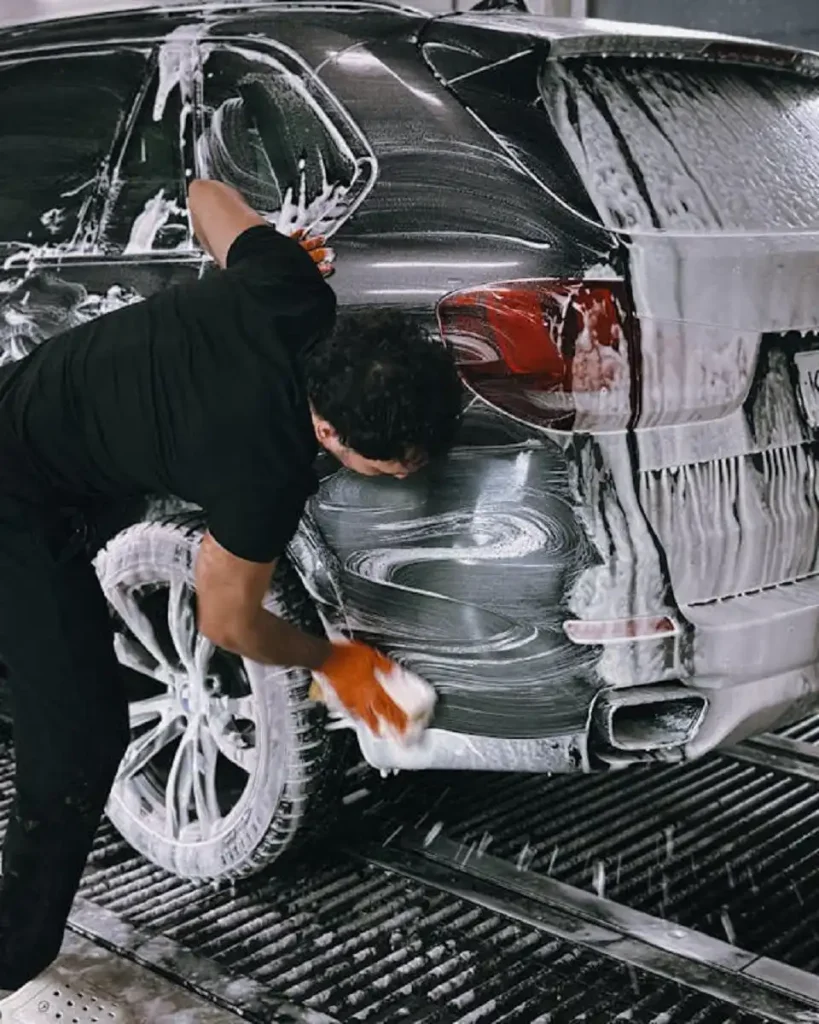
Clean Your Vehicle
Start by washing the car thoroughly to remove dirt and grime, which can scratch paint during the wrap removal process. Dry the car completely before starting.
Locate a Starting Point
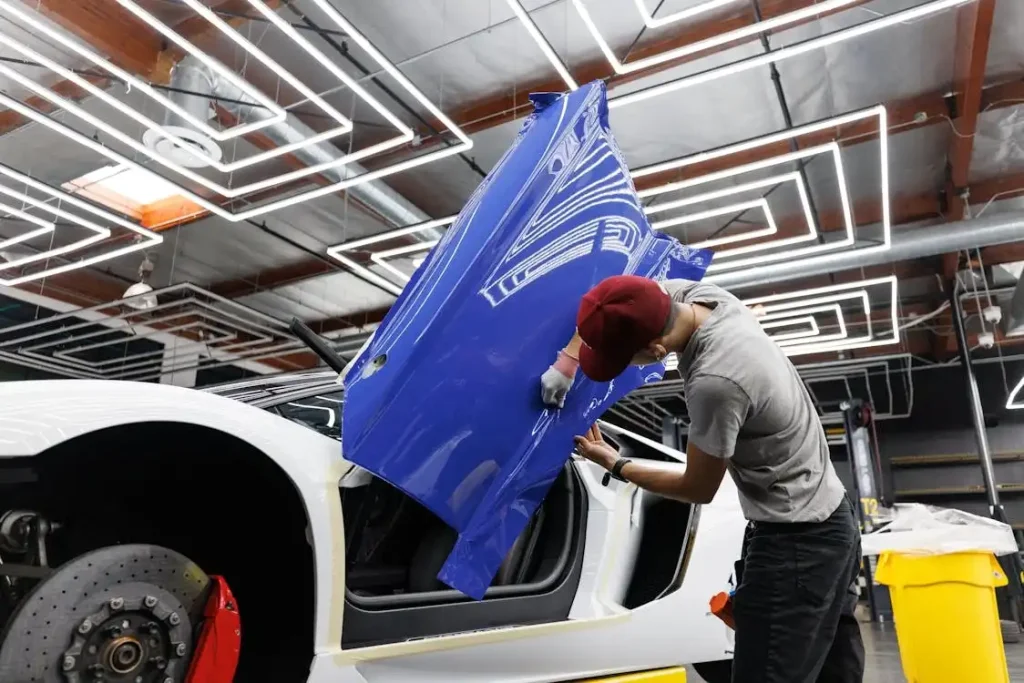
Find a corner or edge of the wrap, usually near the trunk, hood, or door seams, where the wrap is slightly loosened. This is your peeling starting point.
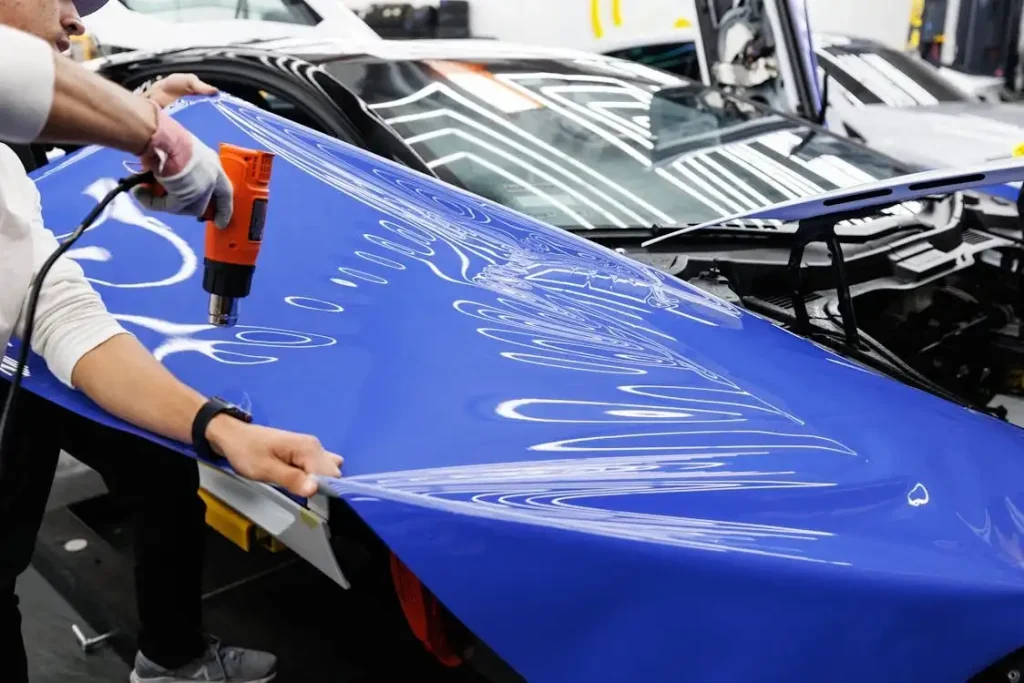
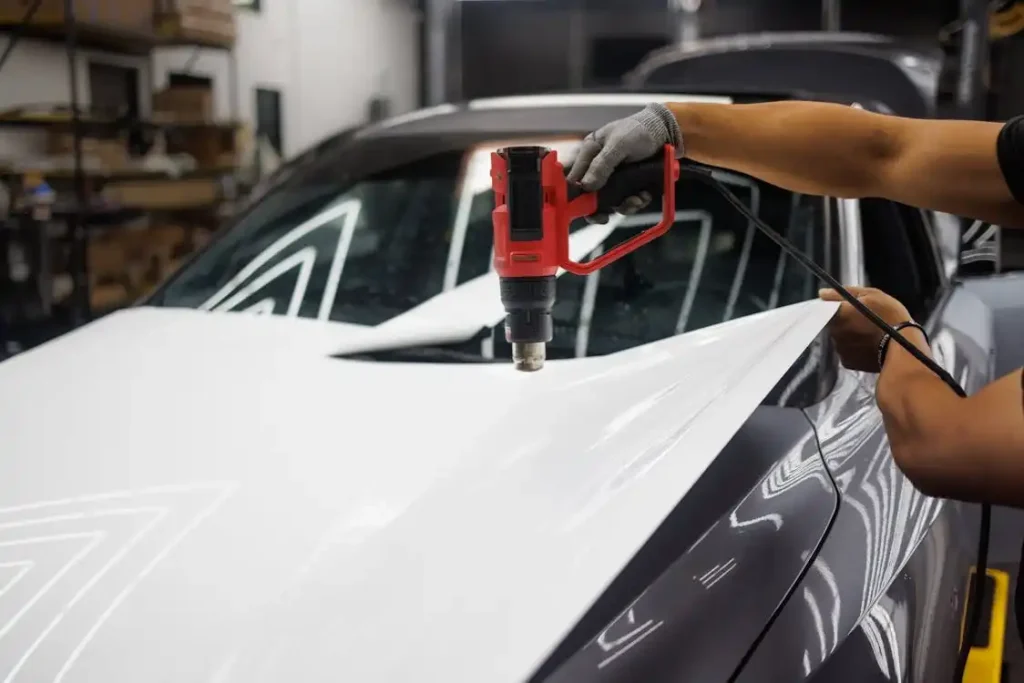
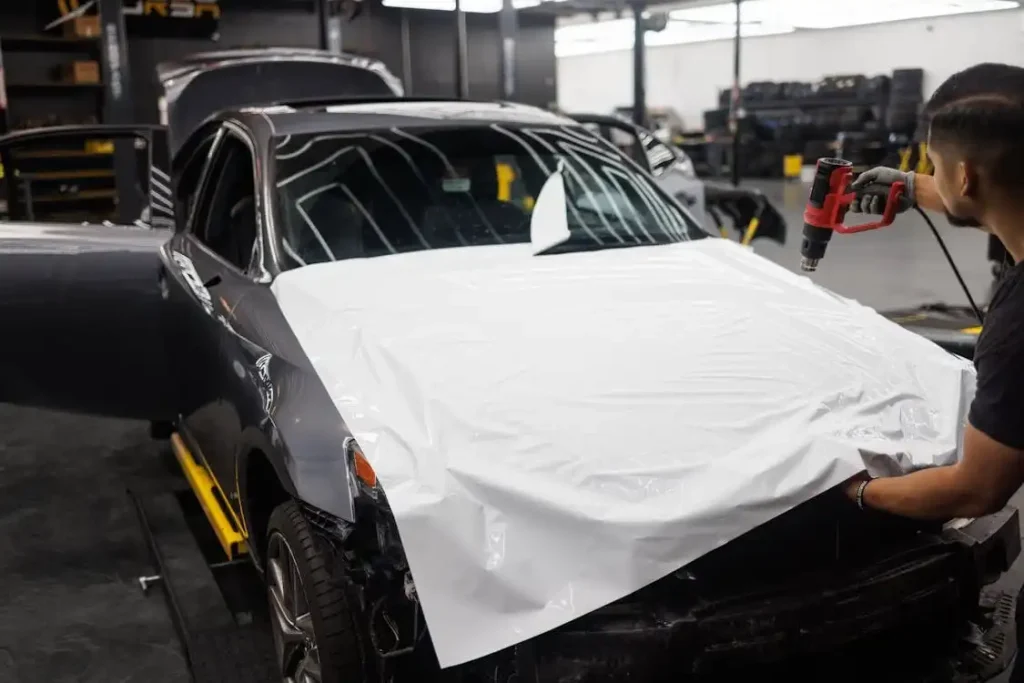
Heat the Vinyl Wrap
Use the heat gun held about 5–6 inches from the surface. Move it in a back-and-forth motion over the vinyl to evenly warm it to around 120°F (50°C). Heat softens the adhesive, making the wrap easier to peel off without tearing or leaving residue. Be careful not to overheat or scorch the vinyl.
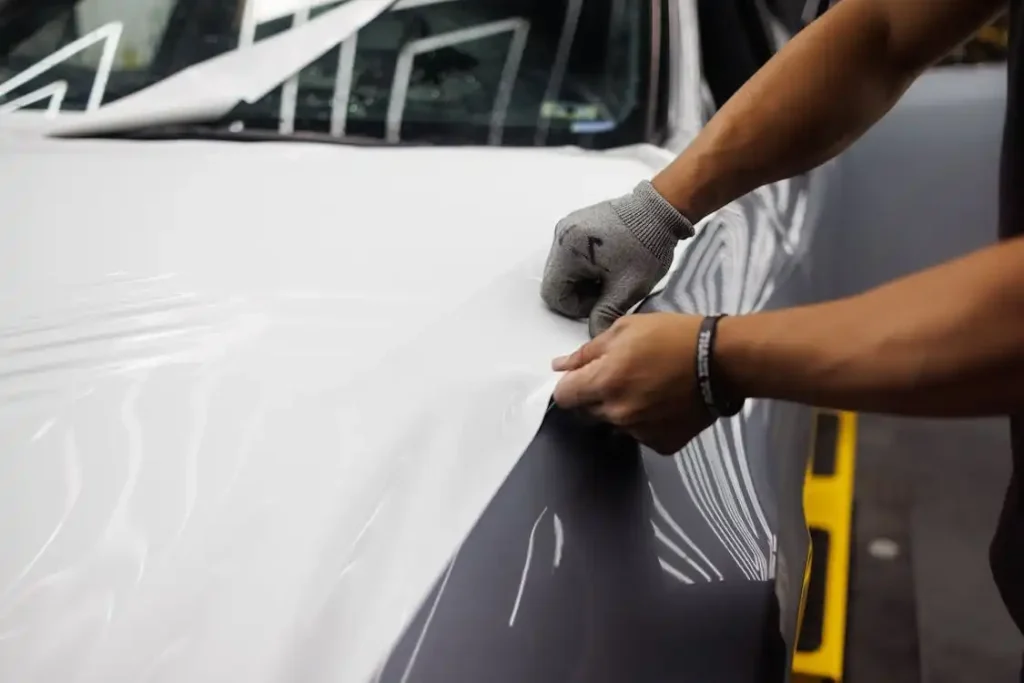
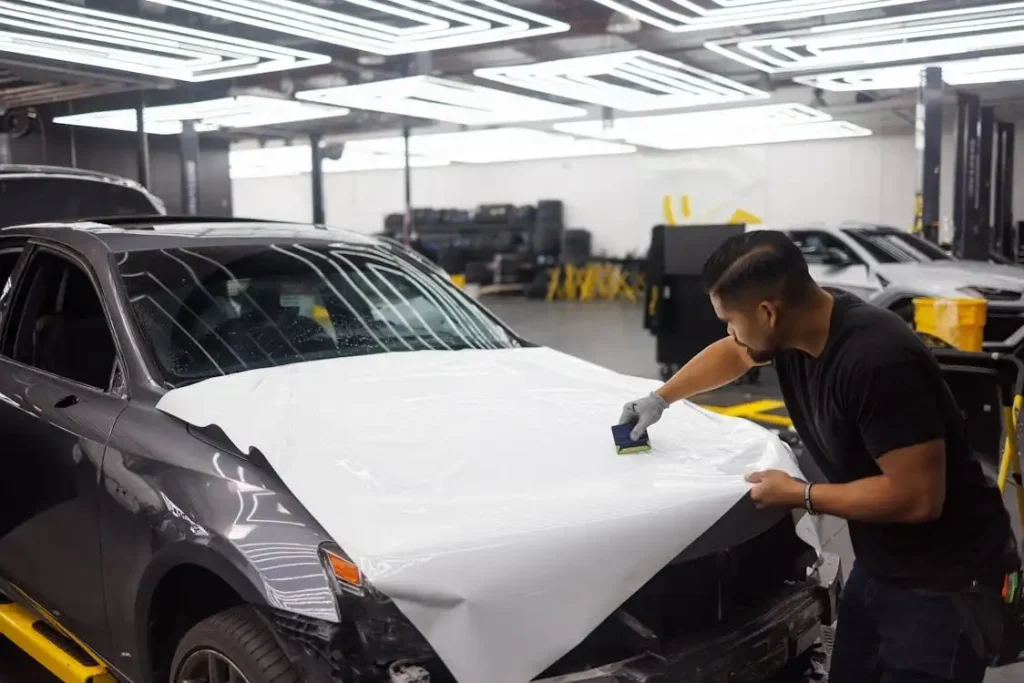
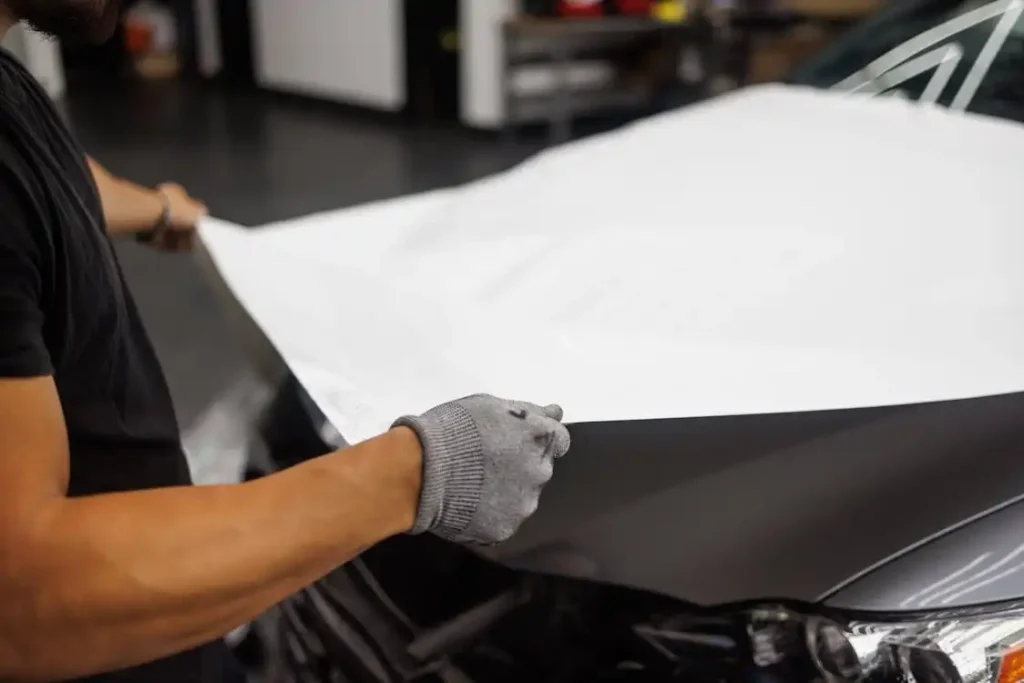
Peel the Wrap Slowly and Evenly
Pull the wrap at a consistent 25° to 45° angle. Avoid quick or forceful yanking to prevent paint damage and vinyl tearing. Work slowly around curves, trims, and door handles, reheating areas as needed if resistance is met. Maintain even pressure for a smooth peel.
Use a Plastic Scraper for Tough Spots
Where the wrap is difficult to lift by hand, gently slide a plastic scraper under the edge to ease lifting without scratching the paint. Avoid metallic tools as they can cause damage.
Remove a Car Wrap Adhesive Residue
After peeling the vinyl, some adhesive may remain stuck to the paint. Apply an adhesive remover or rubbing alcohol with a microfiber cloth and let it soak for a few minutes. Then, gently rub and scrape the residue with a plastic scraper until clean. Clean the area with warm, soapy water afterward to remove any solvent traces.
Tips to Prevent Paint Damage During Removal
- Avoid overheating specific areas; evenly distribute heat with a moving heat gun.
- Peel at the recommended angle and speed.
- Use plastic tools only to avoid scratches.
- Do not rush; take your time to protect the finish.
- Wear gloves to protect your skin from chemicals in adhesive removers.
Common Mistakes to Avoid while Remove a Car Wrap
- Starting removal under direct sun or extreme temperatures.
- Pulling too quickly or forcefully.
- Using metal or sharp tools directly on paint.
- Not heating the wrap sufficiently before peeling.
- Leaving adhesive residue untreated, which can cause sticky surfaces or attract dirt.
Removing Vinyl Wrap After 5 Years
Vinyl wraps left on vehicles for around five years or more may show signs of aging such as fading, peeling, and cracking. The adhesive may have degraded, making removal more challenging. In such cases, careful preparation is vital.
- Heat application may need to be more consistent and thorough to soften brittle vinyl.
- Use specialized adhesive remover sprays more liberally to break down strong residues.
- Take extra caution as the vinyl may crack and leave more bits to remove, requiring patience and multiple passes.
- Inspect paint closely for any weathering or damage that may have developed beneath the wrap over the years.
Though more time-consuming, removing a 5-year-old wrap is still manageable with patience, proper tools, and gradual heating techniques.
Is It Easy to Remove a Car Wrap?
The ease of removing a car wrap depends on the wrap’s age, environmental exposure, and the surface preparation at installation. Wraps on vehicles for under a year are generally easier to remove and less prone to damage. Long-term wraps over 2 to 3 years might require more heat and effort because the vinyl becomes brittle and adhesive stronger.
With the right knowledge, tools, and a cautious approach, removing a car wrap is achievable for a DIY enthusiast. Correct technique prevents paint damage and excessive adhesive residue, making the process more straightforward than commonly assumed.
How to Remove Cracked Vinyl Wrap from Car
Cracked vinyl wraps need delicate handling to avoid leaving small stubborn fragments on the vehicle:
- Heat the cracked sections thoroughly to soften the vinyl and adhesive before peeling.
- Use plastic scrapers gently to lift brittle edges without scratching paint.
- Remove smaller fragments by reheating and gentle scraping in stages rather than forcing large pieces off.
- Clean the surface carefully afterward to remove adhesive and any residue from broken vinyl pieces.
How to Remove Car Wrap Adhesive
Adhesive residue left after vinyl removal can be sticky and tough but reliably removable using these steps:
- Apply an adhesive remover spray or use a solution of isopropyl alcohol and water.
- Let the solution soak for several minutes on the residue to soften it.
- Use a plastic scraper to gently lift the softened adhesive without damaging paint.
- Scrub gently with a soft cloth or sponge as needed.
- Rinse with warm soapy water and dry with a microfiber cloth.
- For natural options, diluted white vinegar also works on adhesive removal without harsh chemicals.
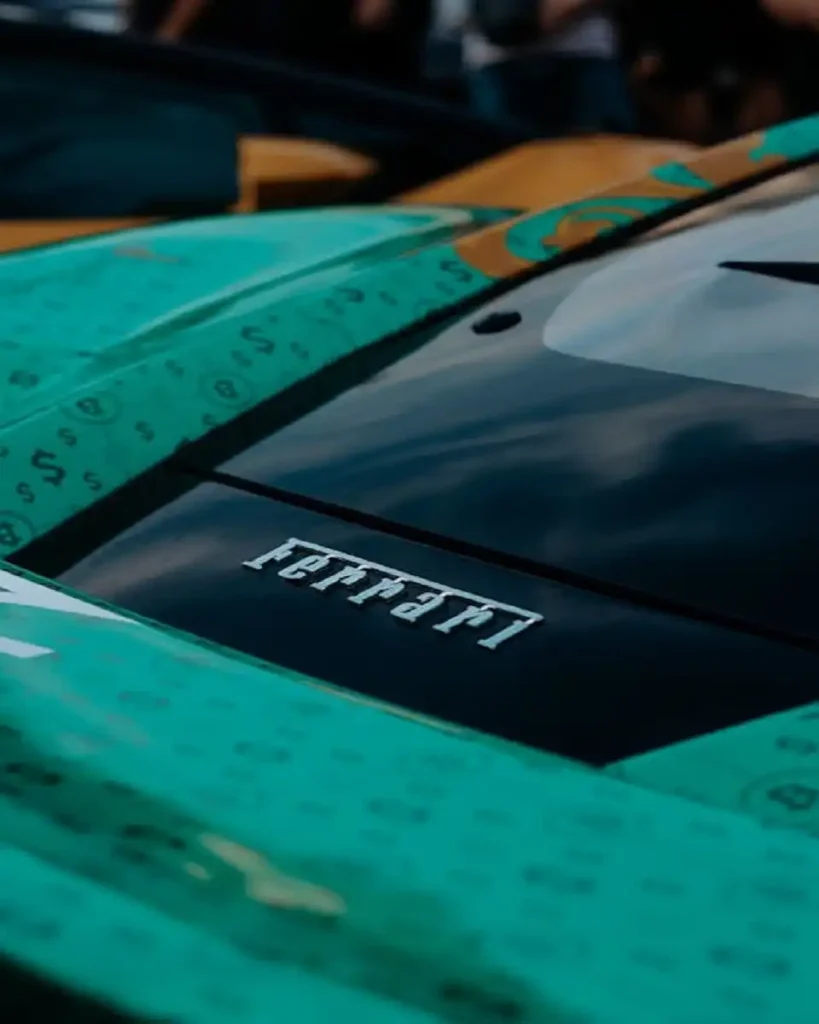
How to Remove 3M Wrap from Car
The 3M brand of vinyl wraps, like their 1080 series, is designed for relatively easier removal with minimal adhesive residue:
- Use heat to warm the 3M wrap evenly, softening the adhesive.
- Start peeling from an edge at a low angle to avoid tearing.
- For stubborn adhesive, 3M recommends specific vinyl adhesive removers or isopropyl alcohol-based cleaners.
- Plastic scrapers are useful to remove residue gently.
- Follow product instructions carefully to avoid paint damage, as 3M wraps have high adhesion for durability but are engineered for clean removal when done right.
Tools and Their Roles for Car Wrap Removal
| Tool | Purpose | Notes |
| Heat Gun | Softens adhesive for easier peel | Keep 5–6 inches away, avoid overheating |
| Plastic Scraper/ Razor | Lifts wrap edges, removes residue gently | Prefer plastic over metal to protect paint |
| Adhesive Remover Spray | Dissolves leftover adhesive | Use as per manufacturer instructions |
| Spray Bottle (Warm Water + Detergent) | Softens difficult vinyl spots | Helps avoid scratching while peeling |
| Microfiber Cloths | Cleans and polishes after removal | Use to avoid scratches |
| Gloves and Safety Gear | Protects hands and eyes during process | Recommended for chemical handling |
Finally
Removing a car wrap without damaging the paint requires patience, the right tools, and correct techniques. Heating the vinyl wrap evenly and peeling it slowly at a steady angle helps protect the paint underneath. Using plastic scrapers and appropriate adhesive removers ensures all residues are cleaned without scratching.
Avoiding common mistakes while Remove a Car Wrap like overheating or rushing the process is key for professional results. With proper care, the car wrap can be removed efficiently, leaving the vehicle’s original paint intact and ready for its next look or sale. This updated 2025 guide draws on the latest expert advice and tools to make car wrap removal a smooth, safe process.
More Automotive Update Visit Deckers Auto


